MongoDB’s flexibility is great until something goes wrong. A careless delete script, hardware failure, or ransomware attack can wipe out your collections in seconds. This guide covers backup methods and recovery techniques to help you sleep better at night.
Why Backups Matter
Data loss is expensive. The average cost of a data breach hit $4.88 million in 2025, and MongoDB downtime can cost thousands per hour. Here’s what you’re protected against:
| Disaster Type | Description | Potential Impact |
|---|---|---|
| Human Error | Accidental drops or overwrites (e.g., db.dropDatabase() gone wrong). |
Immediate data vanishing; hours to rebuild. |
| Hardware Failure | Disk crashes or node outages in a replica set. | Cluster imbalance; partial outages. |
| Cyber Threats | Ransomware encrypting your data volume. | Total lockout; negotiation nightmares. |
| Software Bugs | MongoDB upgrades or app glitches corrupting indexes. | Inconsistent queries; silent corruption. |
| Natural/External | Power surges, floods, or cloud provider hiccups. | Full-site downtime; compliance violations. |
MongoDB’s oplog and snapshot-friendly design make recovery straightforward if you plan ahead.
Backup Types
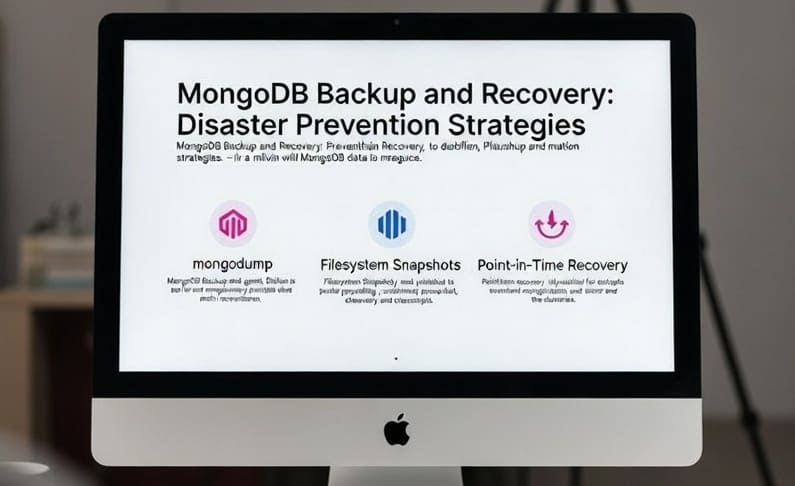
MongoDB supports two main approaches: logical and physical backups.
- Logical Backups: Use
mongodumpto export collections as BSON/JSON. Suitable for granular restores. Slower on large datasets. - Physical Backups: Filesystem snapshots via LVM or EBS. Consistent, but tied to your infrastructure.
- Incremental/Point-in-Time: Use the oplog to replay changes between full backups.
For MongoDB Atlas, managed backups handle snapshots and point-in-time recovery automatically.
Aim for an RPO under 1 hour and RTO under 4 hours for critical applications.
Tools
Here’s what you’ll need:
- mongodump/mongorestore: Built-in tools for logical backups.
- Percona Backup for MongoDB (PBM): Open-source option for sharded clusters with compression and encryption support.
- MongoDB Ops Manager/Cloud Manager: Enterprise tools for automation and monitoring.
- Atlas Backups: Cloud backup with continuous snapshots.
- Filesystem Tools:
rsync, LVM snapshots, or AWS EBS for physical backups.
You can wrap these in cron jobs or Node.js scripts for scheduled backups.
Hands-On: Backup and Recovery
Let’s walk through backing up a standalone MongoDB instance. Adapt these commands for replica sets or sharded clusters.
Step 1: Check Your Tools
MongoDB tools come with the server install. Verify:
mongodump --version # Should show 8.0+ (2025's latest stable)
Step 2: Logical Backup with mongodump
Dump your database to a timestamped folder:
# Full database backup
mongodump --uri="mongodb://localhost:27017/myapp" --out=/backups/$(date +%Y%m%d_%H%M%S)

# Specific collection, with compression
mongodump --uri="mongodb://localhost:27017/myapp" --db=myapp --collection=users --gzip --out=/backups/users_$(date +%Y%m%d)
For clusters with authentication:
mongodump --host=prod-shard-01 --port=27017 --username=backupuser --password=secret --authenticationDatabase=admin --db=myapp --out=/secure/backups
To store offsite, pipe to S3: aws s3 sync /backups s3://my-bucket/mongodb-backups/.
Step 3: Physical Backup via Snapshots
For production, snapshot the data directory (default: /data/db).
On Linux with LVM:
# Stop MongoDB for consistent snapshot
mongod --shutdown

# Create snapshot
lvcreate --size 10G --snapshot --name mongo_snap /dev/vg0/mongodata

# Restart MongoDB
mongod --dbpath=/data/db

# Mount and rsync snapshot elsewhere
mount /dev/vg0/mongo_snap /mnt/snap
rsync -av /mnt/snap/ /backups/physical/
In AWS EC2, use EBS snapshots via the console or CLI.
Step 4: Point-in-Time Recovery with Oplog
The oplog records every operation. You can replay it to recover to a specific moment.
- Take a full backup as shown above.
- Backup the oplog:
mongodump --db=local --collection=oplog.rs --oplog. - Restore with:
mongorestore --oplogReplay /backups/oplog/.
Example:
# Restore with oplog replay
mongorestore --uri="mongodb://localhost:27017/myapp_restore" --dir=/backups/20251224_1200/myapp --oplogReplay /backups/oplog/

# Restore just one collection
mongorestore --db=myapp --collection=users /backups/users.bson.gz
Practice this. Drop a collection on a test server, then restore from backup.
For sharded clusters, backup each shard separately and use mongos for restores.
Step 5: Automate with Scripts
Here’s a simple Node.js script for scheduled backups:
const { exec } = require('child_process');
const cron = require('node-cron');

const backup = () => {
  const timestamp = new Date().toISOString().replace(/[:.]/g, '-');
  exec(`mongodump --uri="mongodb://localhost:27017/myapp" --out=/backups/${timestamp}`, (err, stdout) => {
    if (err) console.error('Backup failed:', err);
    else console.log('Backup complete:', stdout);
  });
};

// Daily at 2 AM
cron.schedule('0 2 * * *', backup);

console.log('Backup scheduler running...');
Run with node backup.js.
Best Practices
- Test Restores Quarterly: Backups are useless if untested. Run full disaster recovery drills.
- Retention Policies: Keep 7 daily, 4 weekly, 12 monthly backups. Prune older ones to save space.
- Encryption & Security: Encrypt backups and use role-based access control.
- Offsite & Multi-Region: Store backups in S3 with versioning. Replicate to another region for geo-disaster recovery.
- Monitoring & Alerts: Track backup success and alert on failures.
- Minimize RPO/RTO: Use incremental oplog backups for near-real-time recovery.
- Cluster Sizing: Keep shards under 2TB for faster snapshots.
For Kubernetes, tools like Velero or Percona Operator automate backup management.
Backups are worthless if you never test them. Schedule a restore drill this week.
Related Articles
- MongoDB Index Optimization - Boost performance and reduce overhead
- MongoDB Best Practices - Best practices for MongoDB performance
- Time-to-Live Indexes in MongoDB - Implement TTL indexes for data expiration